Pressure, Angle, and Distance Are Everything
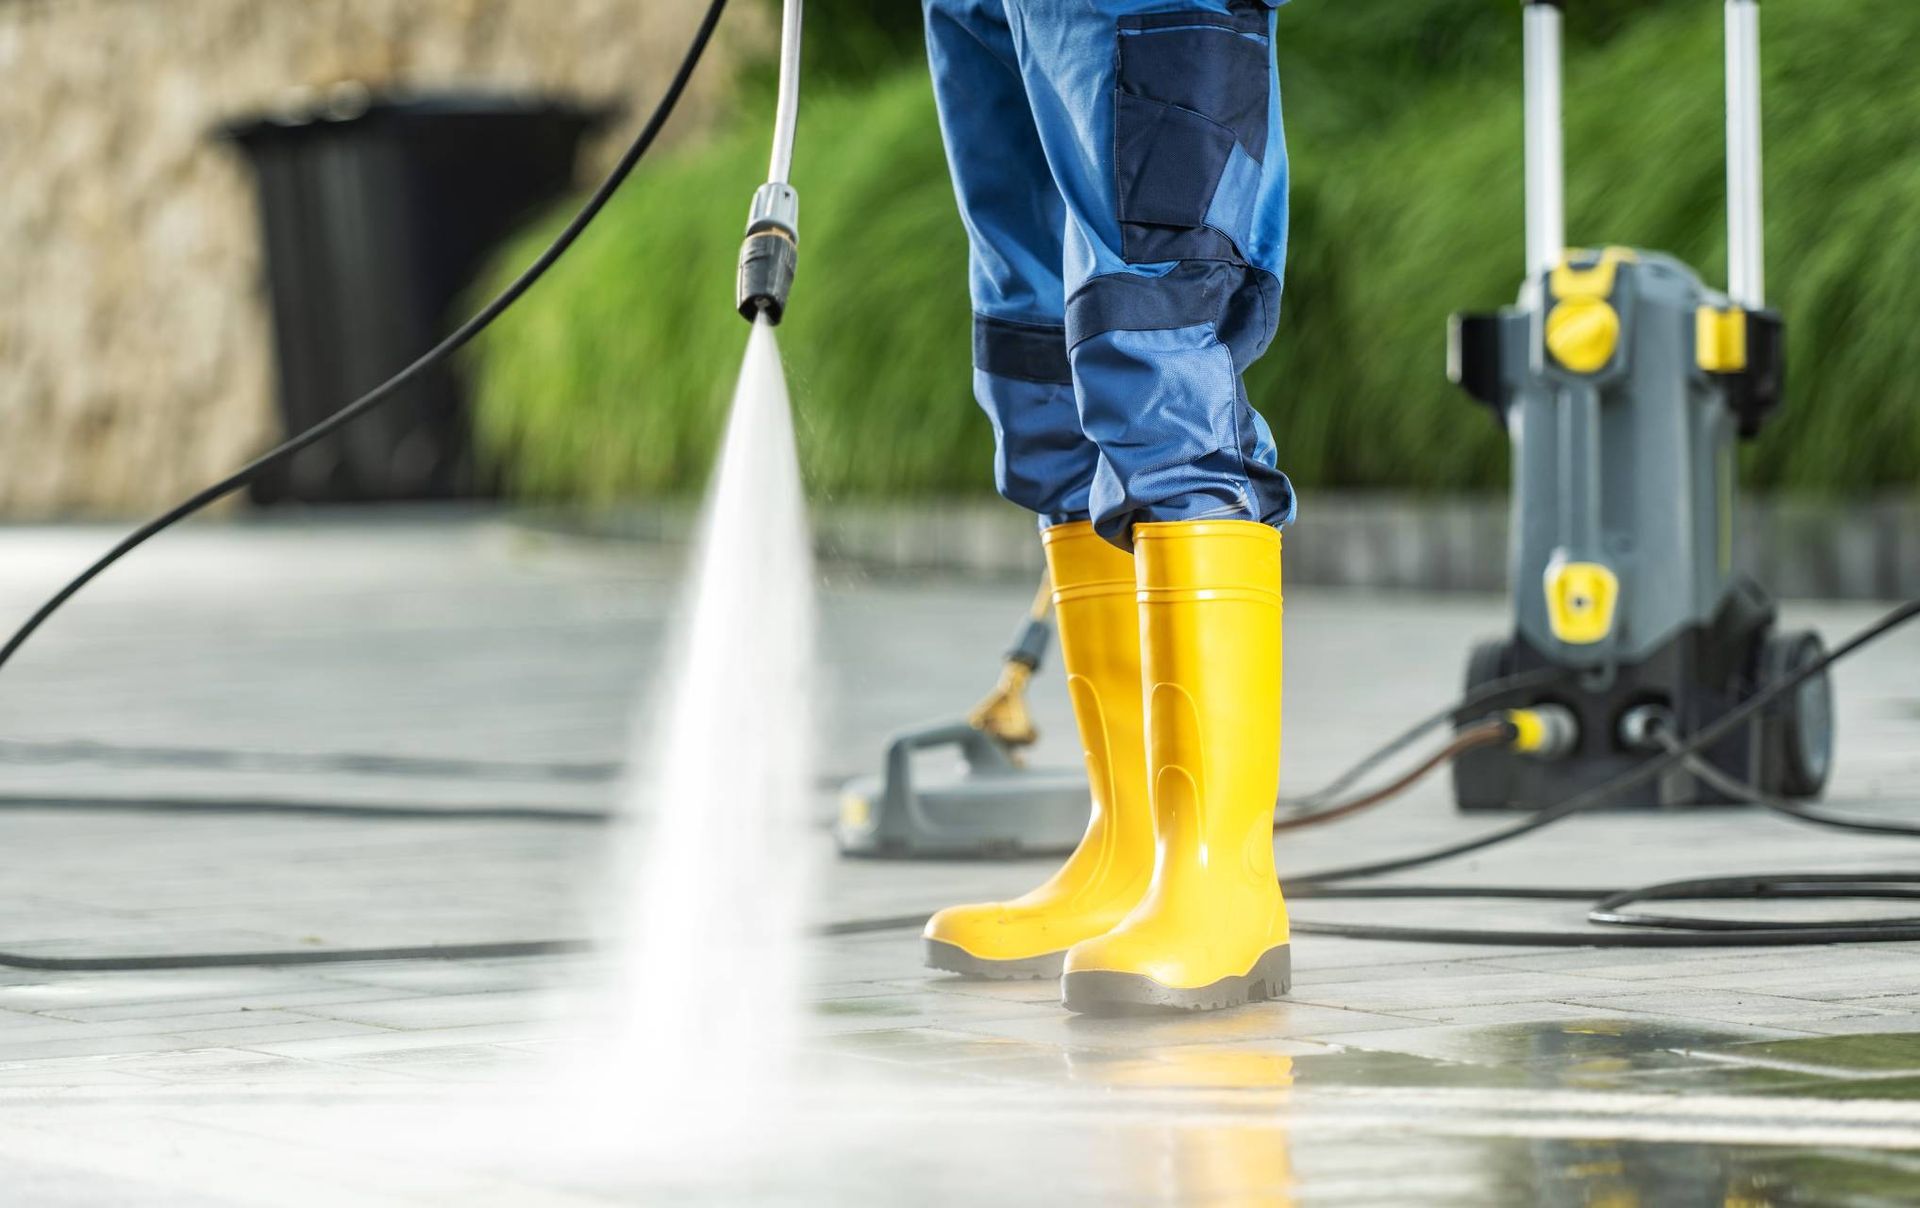
If you're going to pressure wash a tile roof safely, the single most important variable is pressure. The industry standard for tile roofs is to stay under 1,200 PSI — many professionals work at 800 to 1,000 PSI with a wide fan tip (40-degree or higher). High-pressure narrow-stream nozzles have no place on a tile roof. They concentrate force on a small area and will crack concrete tile and chip clay.
Angle matters just as much. Always work with the water flowing down the tile, never against it or horizontally across it. Spraying upward or directly into lap seams drives water behind the tiles and into the underlayment, which is exactly what the roof is designed to prevent. Keep the nozzle pointed downward and let the water follow the path it would naturally take off the roof.
Distance from the surface should be at least 12 to 18 inches. Closer than that and even moderate pressure becomes damaging.
Don't Skip the Pre-Treatment
For heavy algae, lichen, or black streaking, chemical pre-treatment makes the pressure washing step easier and more effective — and it lets you use lower pressure, which protects the tile. A diluted sodium hypochlorite solution (pool chlorine, not straight bleach) applied with a low-pressure sprayer and left to dwell for 15 to 20 minutes will kill biological growth at the root. After dwell time, most of it rinses away with relatively gentle water pressure.
Lichen is the stubborn one. It anchors itself into the surface of the tile with root-like structures, and pressure alone often just removes the top layer while leaving the base behind. Chemical treatment followed by a second application a week later — or a soft brush for spot work — is more effective than cranking up the pressure.
The Walking Problem
Getting on a tile roof to pressure wash it creates its own risk entirely separate from the cleaning method. Tile is slippery when wet and breaks easily underfoot if you step on the wrong part of it. Professionals use crawl boards or foam kneelers to distribute weight across multiple tiles rather than concentrating it on one. Walking on the overlapping lower edge of each tile — rather than the high center — reduces breakage risk significantly.
Honestly, for most homeowners, the fall and damage risk of being on a wet tile roof makes this a strong candidate for hiring out. A professional roof cleaning company with experience on tile will have the right low-pressure equipment, chemical knowledge, and footing systems to do it without breaking tiles or hurting themselves. The cost is usually a few hundred dollars for an average home and is worth comparing against the liability of a DIY job that cracks a dozen tiles.
One More Thing
After any cleaning, let the roof dry completely and do a visual inspection — ideally from a ladder at the eave line — for any tiles that shifted, mortar that came loose, or spots that look different than expected. Catching a dislodged cap tile the day after cleaning beats finding out about it during the next heavy rain.
Knowing how to pressure wash a tile roof safely really comes down to using less pressure than you think you need, pre-treating biological growth chemically, and respecting the fragility of the material and the mortar holding it all together. Get those three things right and the roof will clean up well without the cleanup creating a new problem.